Landscape Products
Country Manor
![]()
OVERVIEW
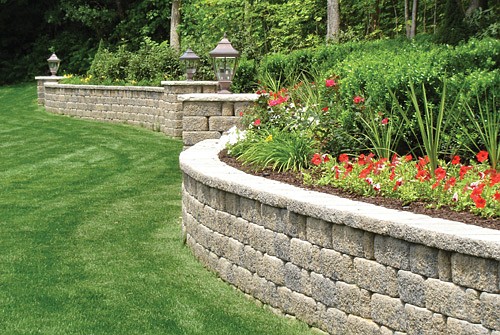
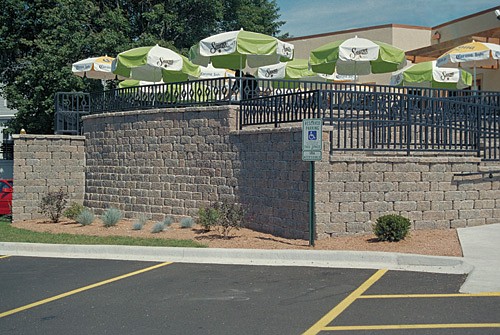
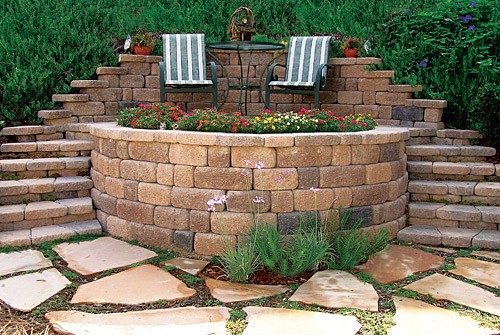
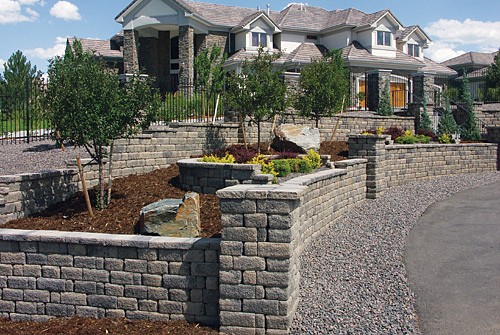
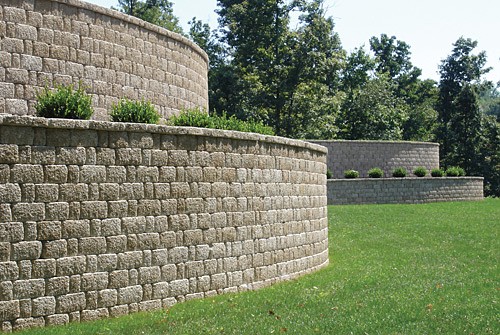
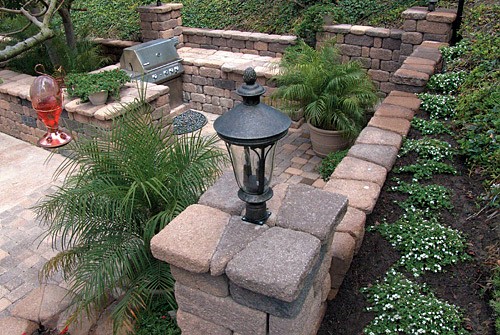
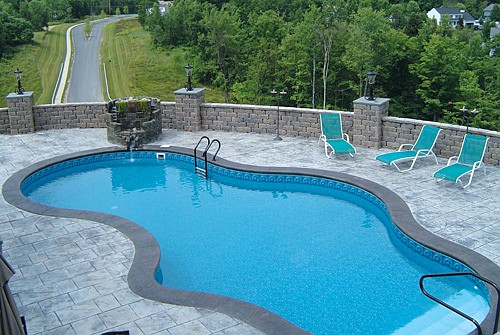
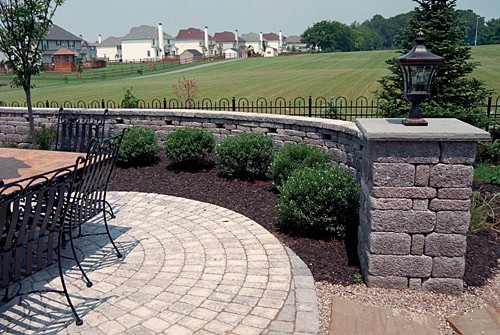
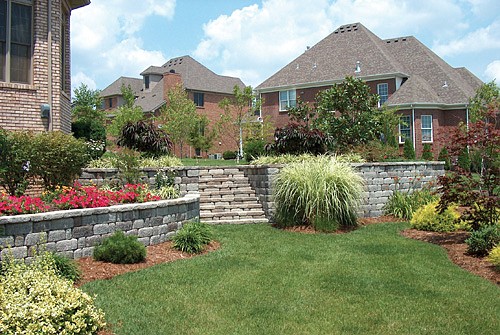
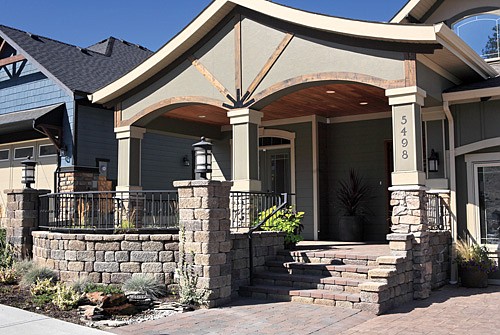
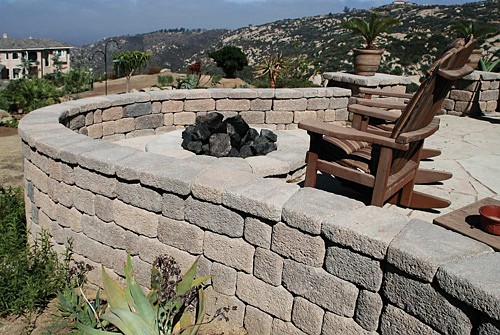
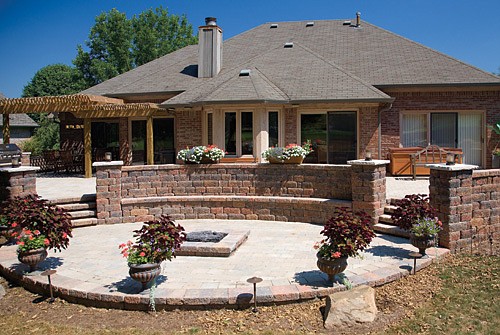
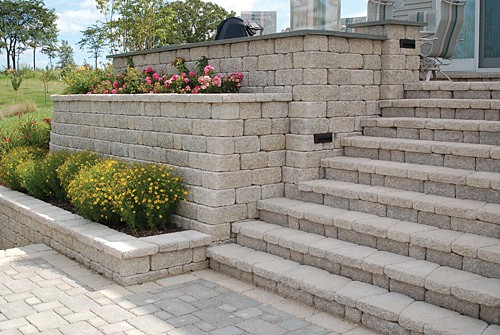
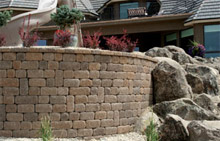
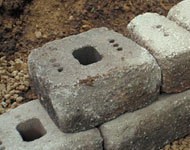
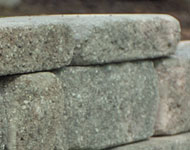
Keystone Country Manor offers the appearance of rustic, hand-laid stone walls with the strength and ease of installation provided by the latest in modular, pin-connected technology. Rugged, yet blended with color and character, these high-strength concrete units appear as a natural stone that has weathered over time like the old-world stone walls found throughout Europe.
 |
 |
 |
 |
 |
|
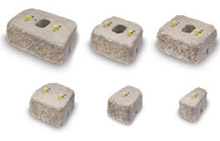
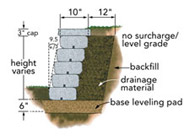
SPECIFICATIONS
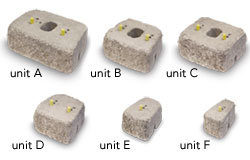
| unit A | unit B | unit C | unit D | unit E | unit F | |
| height | 6" | 6" | 6" | 6" | 6 | "6" |
| width | 14/16" | 10/12" | 12/12" | 8/10" | 6/8" | 4/6" |
| depth | 10" |
10" | 10" | 10" | 10 | "10" |
| weight | 60lbs | 40lbs | 45lbs | 45lbs | 35lbs | 25lbs |
| pins | yes | yes | yes | yes | yes | yes |
Product size, weight, color and product availability varies by location. Please contact your local manufacturer for up-to-date product information.
Download Country Manor specifications:
Keystone Country Manor Specifications
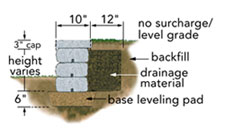
ESTIMATING
 |
 |
| Gravity wall section - near vertical | Gravity wall section - set back |
Download the following Country Manor details available in PDF or DWG format:
- Country Manor Reinforced Wall Section - PDF
- Country Manor Cadd Details - PDF
- Country Manor Cadd Details - DWG
- Country Manor Reinforced Wall Charts - PDF
- Country Manor - Corners & Curves - PDF
- Country Manor - Unit Combinations - PDF
- Country Manor - Free Standing Walls - PDF
- Country Manor - Columns - PDF
- Country Manor - Terraces - PDF
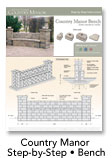
INSTALLATION
 |
 |
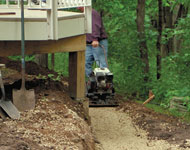
| STEP ONE | Prepare the base leveling pad. Remove all surface vegetation and debris. |
STEP TWO | Install & level the base course. Place the first course of units. |
 |
 |
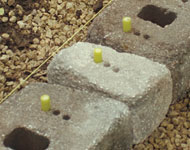
| STEP THREE | Insert the fiberglass pins. Place the pins into the holes. |
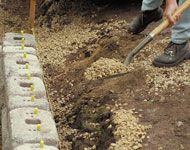
STEP FOUR | Install core fill & compaction. Provide crushed stone drainage fill. |
 |
 |
| STEP FIVE | Install additional courses. Place the next course of units over the pins. |
STEP SIX | Capping the wall. Continue all steps until ready to place the wall cap. |
Click on the images below to view a larger display.
|