Landscape Products
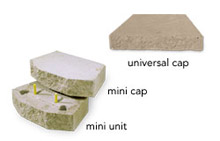
Mini/Caps
![]()
OVERVIEW
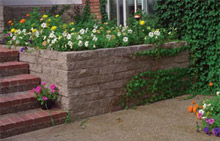
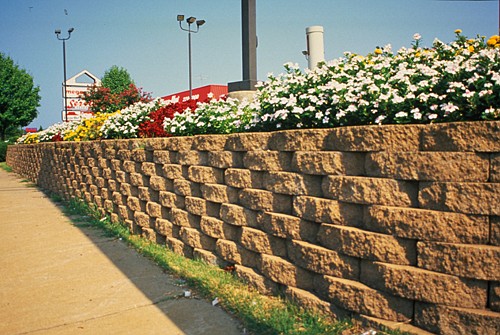
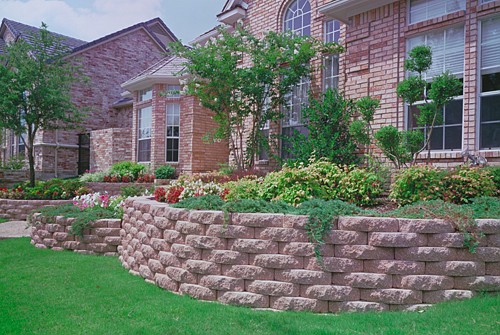
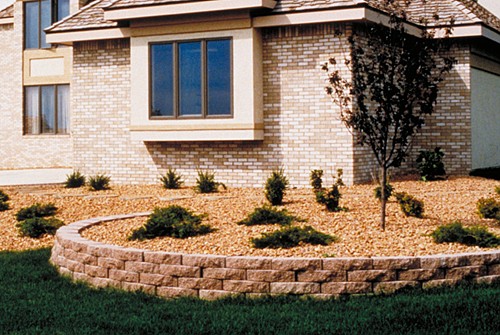
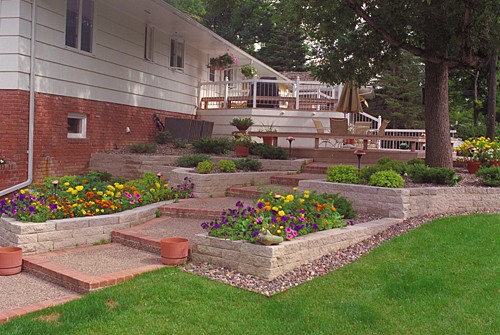
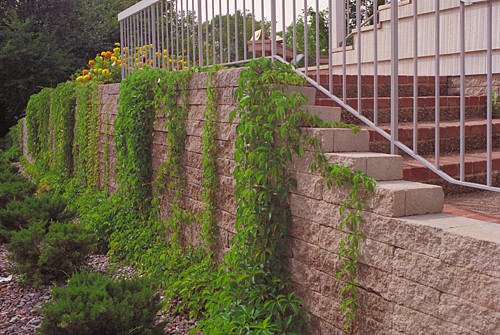
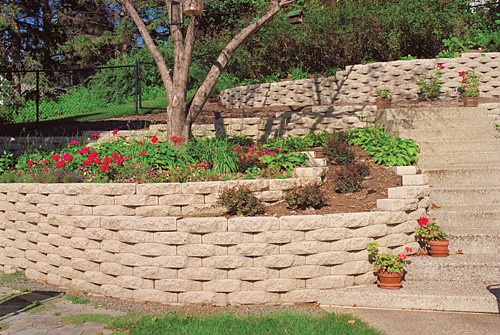
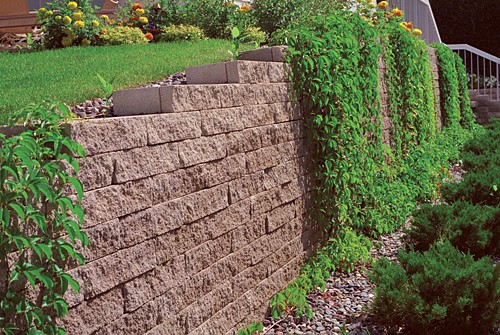
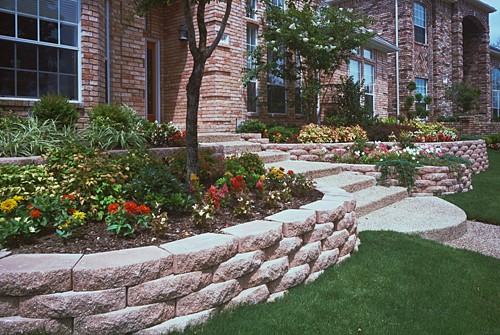
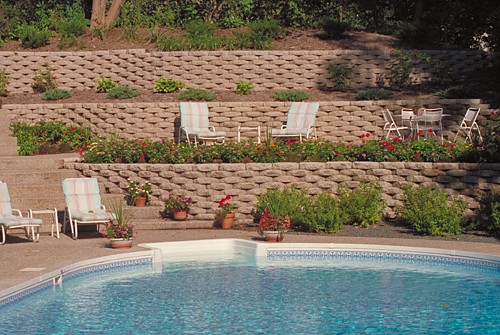
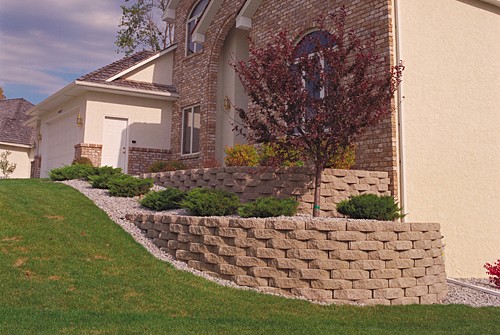
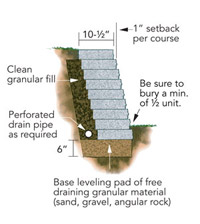
The Keystone Mini Unit is a great solution for smaller, non-critical applications. Easy to handle and easy to install, the 4" Mini Unit makes for an attractive wall on its own or can be used as an accent when integrated with the 8" (200mm) high Standard or Compact units. The proportion and scale of the Mini Unit blend well with brick and ledge stone typically found in residential construction. The unit can also be used as a 4" high cap unit to finish most wall installations. When used in this manner, the smooth top surface of the Mini Unit provides a project with the finished appearance of coping.
 |
 |
SPECIFICATIONS
|
 |
| mini / cap units | universal cap | |
| height | 4" | 4" |
| width | 18" | 18 / 14" |
| depth | 10-1/2" |
10-1/2" |
| weight | 45 lbs | 48 lbs |
Product size, weight, color and product availability varies by location. Please contact your local manufacturer for up-to-date product information.
ESTIMATING
Use this guide for estimating the number of Keystone Mini units required.
| WALL HEIGHT | WALL LENGTH (measured at wall face including curves) | |||||
| 5' | 10' | 15' | 20' | 25' | 30' | |
| 4" (1 course) | 3 | 7 | 10 | 13 | 17 | 20 |
| 8" (2 courses) | 6 | 14 | 20 | 26 | 34 | 40 |
| 12" (3 courses) | 9 | 21 | 30 | 39 | 51 | 60 |
| 16" (4 courses) | 12 | 28 | 40 | 52 | 68 | 80 |
| 20" (5 courses) | 15 | 35 | 50 | 65 | 85 | 100 |
| 24" (6 courses) | 18 | 42 | 60 | 78 | 102 | 120 |
Notes:
- Maximum wall height not to exceed 24".The maximum height is based on a level grade,
total granular soil, wall built-in setback position, and no surcharge. Contact your local Keystone
representative for design options on wall heights exceeding 24" or supporting surcharges and
backslope. - Change in color on the chart denotes the maximum wall height for vertical and setback positions.
- Keystone recommends cap units as the top course and/or caps of freestanding walls
secured with Keystone KapSealT adhesive.
INSTALLATION
 |
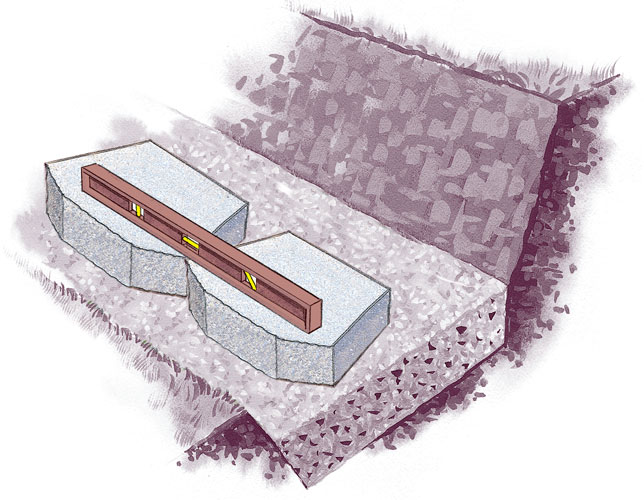 |
| STEP ONE | Prepare the base leveling pad. Remove all surface vegetation and debris. |
STEP TWO | Install the base course. Place the first course of units. |
 |
 |
| STEP THREE | Insert the fiberglass pins. Place the pins into the holes. |
STEP FOUR | Install core fill & compaction. Provide crushed stone drainage fill. |
 | |
| STEP FIVE | Install additional courses. Place the next course of units over the pins. | |
Click on the images below to view a larger display.
|